This excerpt from Jump Course Design Manual by Susan D. Tinder was reprinted with permission from Trafalgar Square Books.
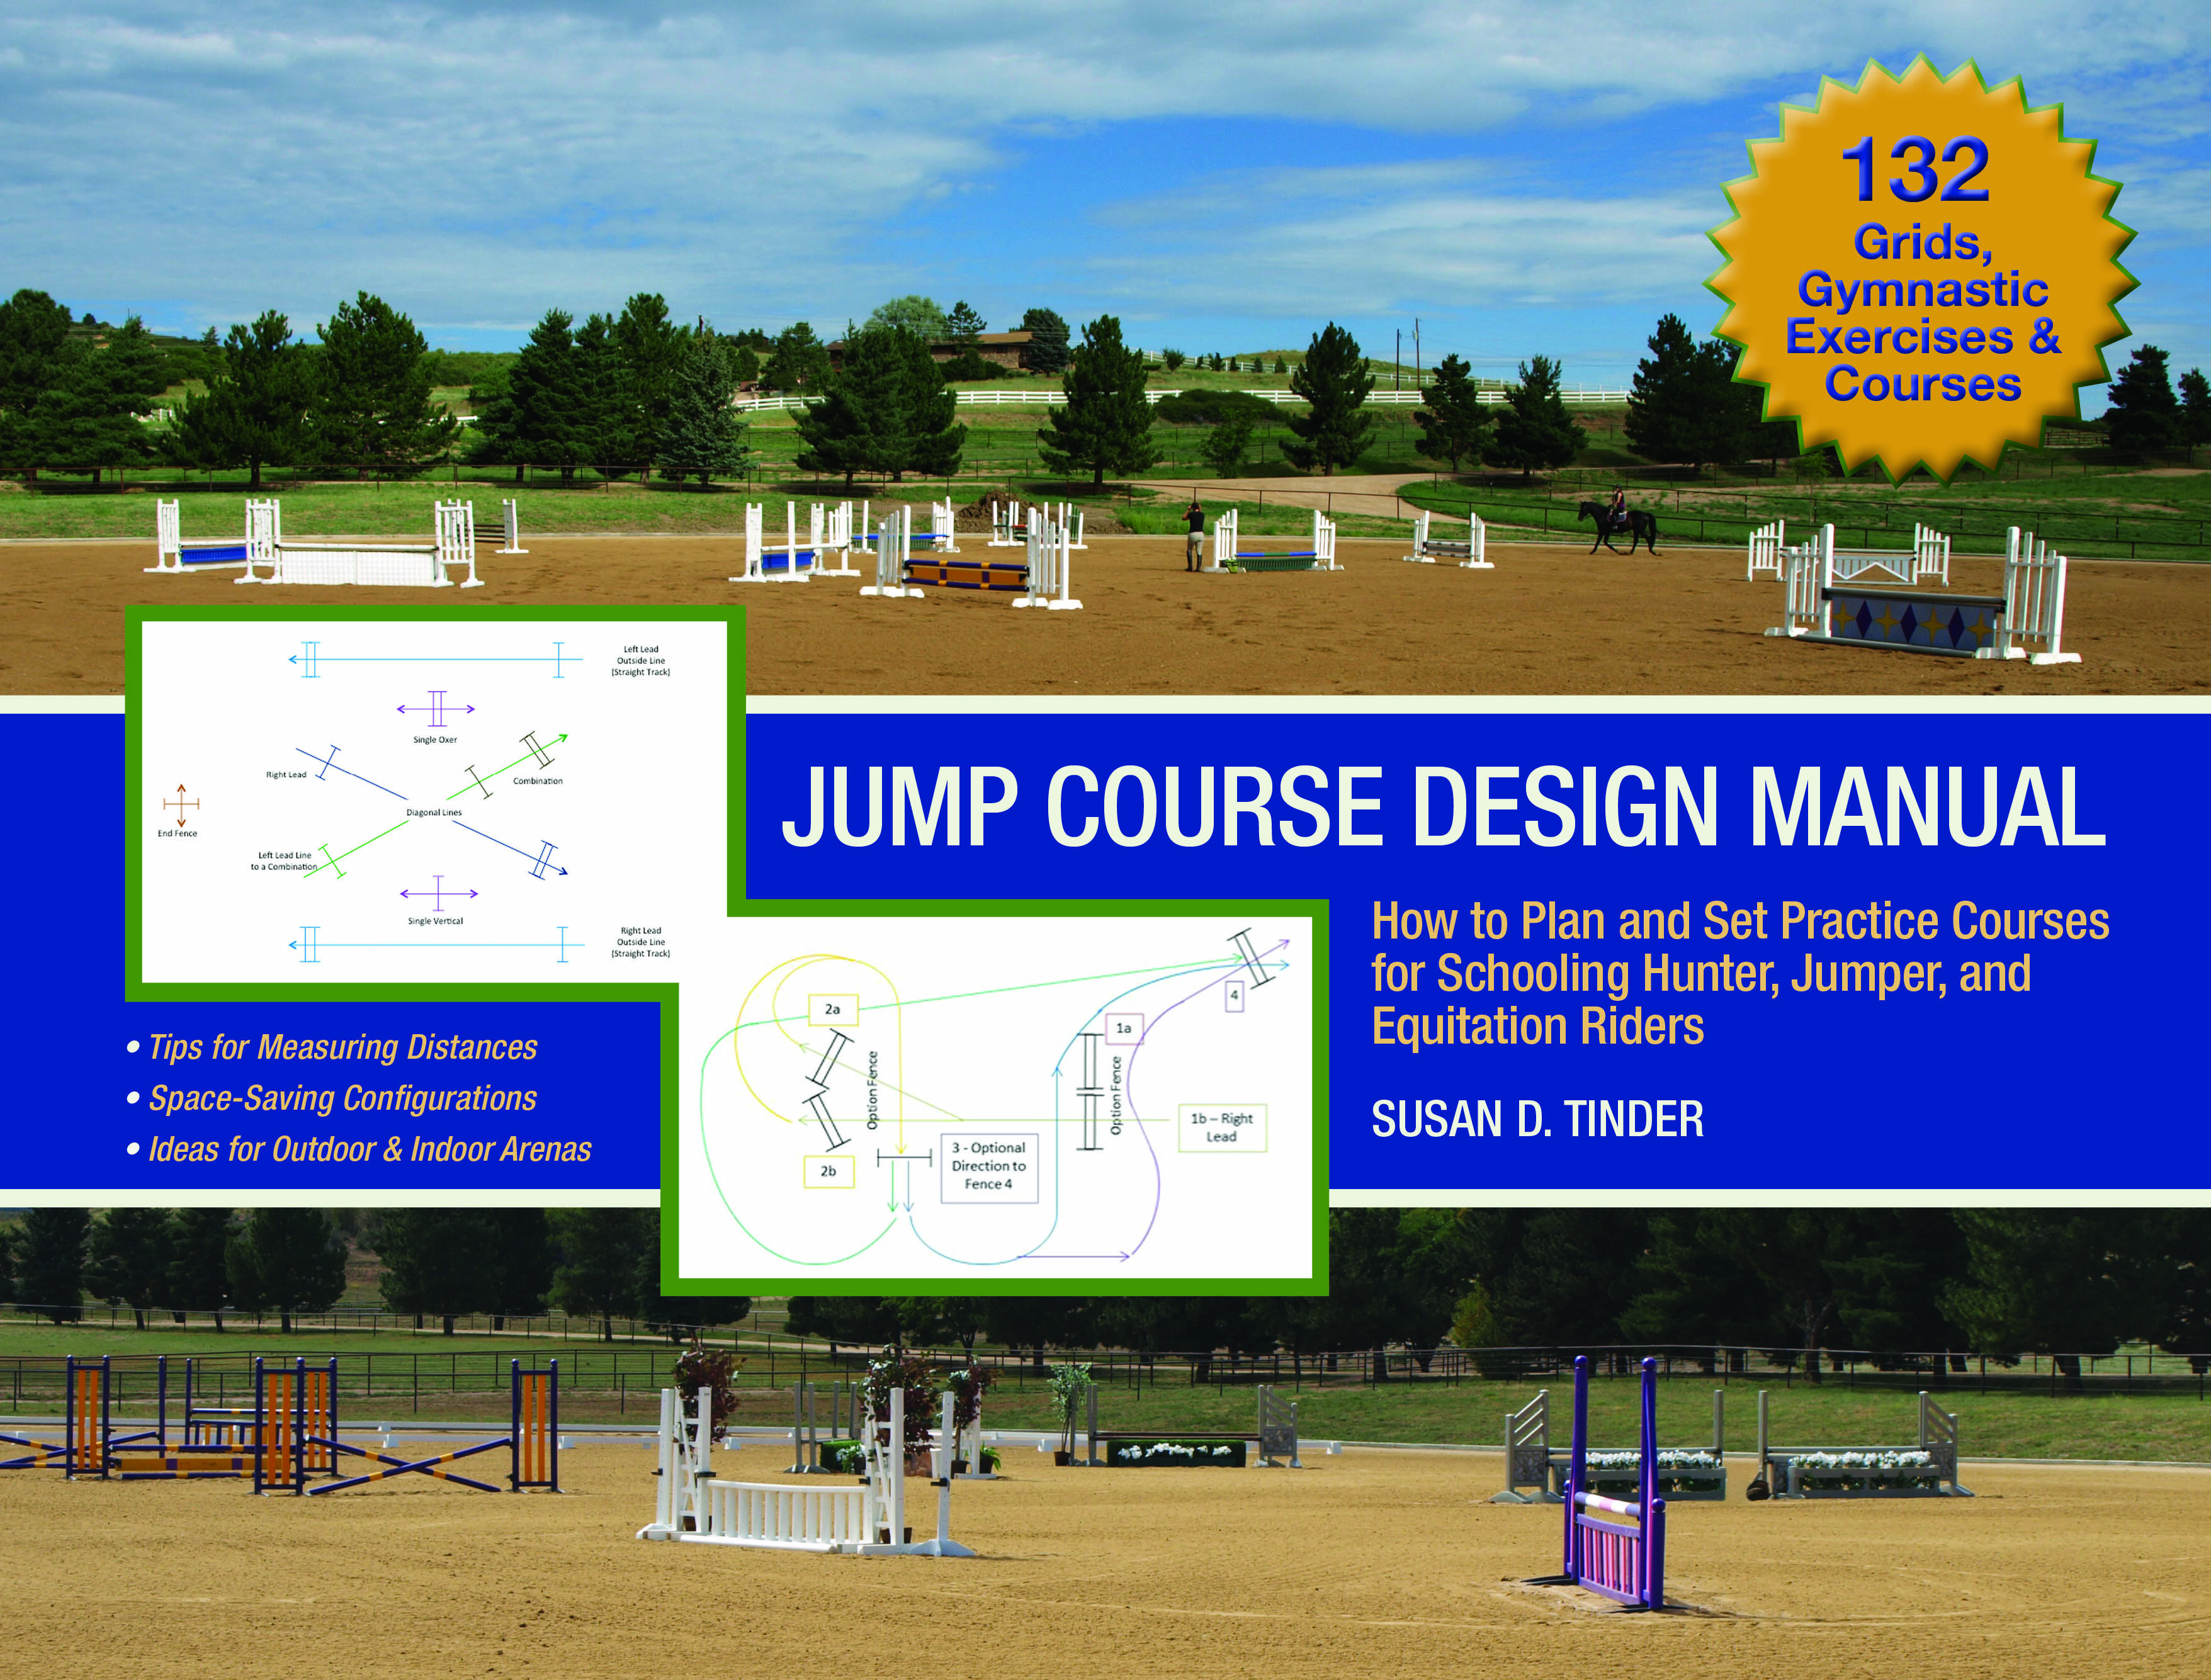
Image courtesy of Trafalgar Square Books.
The plan for a jump course starts with the design of a track. Once you have a general idea of how your track will flow around the arena, then you can add the jumps. A course should travel across the entire space available, have approximately the same number of fences off both leads, and have an equal distribution between vertical and spread fences. The primary objectives of a good course include:
• Free-flowing forward movement for the entire course, including turns.
• Appropriate distances between obstacles.
• Smooth change(s) of rein.
1: THE TRACK SHOULD UTILIZE THE ENTIRE SPACE
A jump course is basically made up of straight tracks and tracks that are circular, semicircular, or slightly curved. The size of your ring, both the length and the width, will set the outside boundaries for your course and will determine how long your lines can be and how wide you can make the turns. There is no reason not to utilize all of the space available to you, so try to design your track so it travels across and through the entire space. Keep in mind that wider, more sweeping turns create smoother rounds. The more advanced the rider and the more schooling the horse has had, the more turns you can include in the course and the tighter you can make the track.
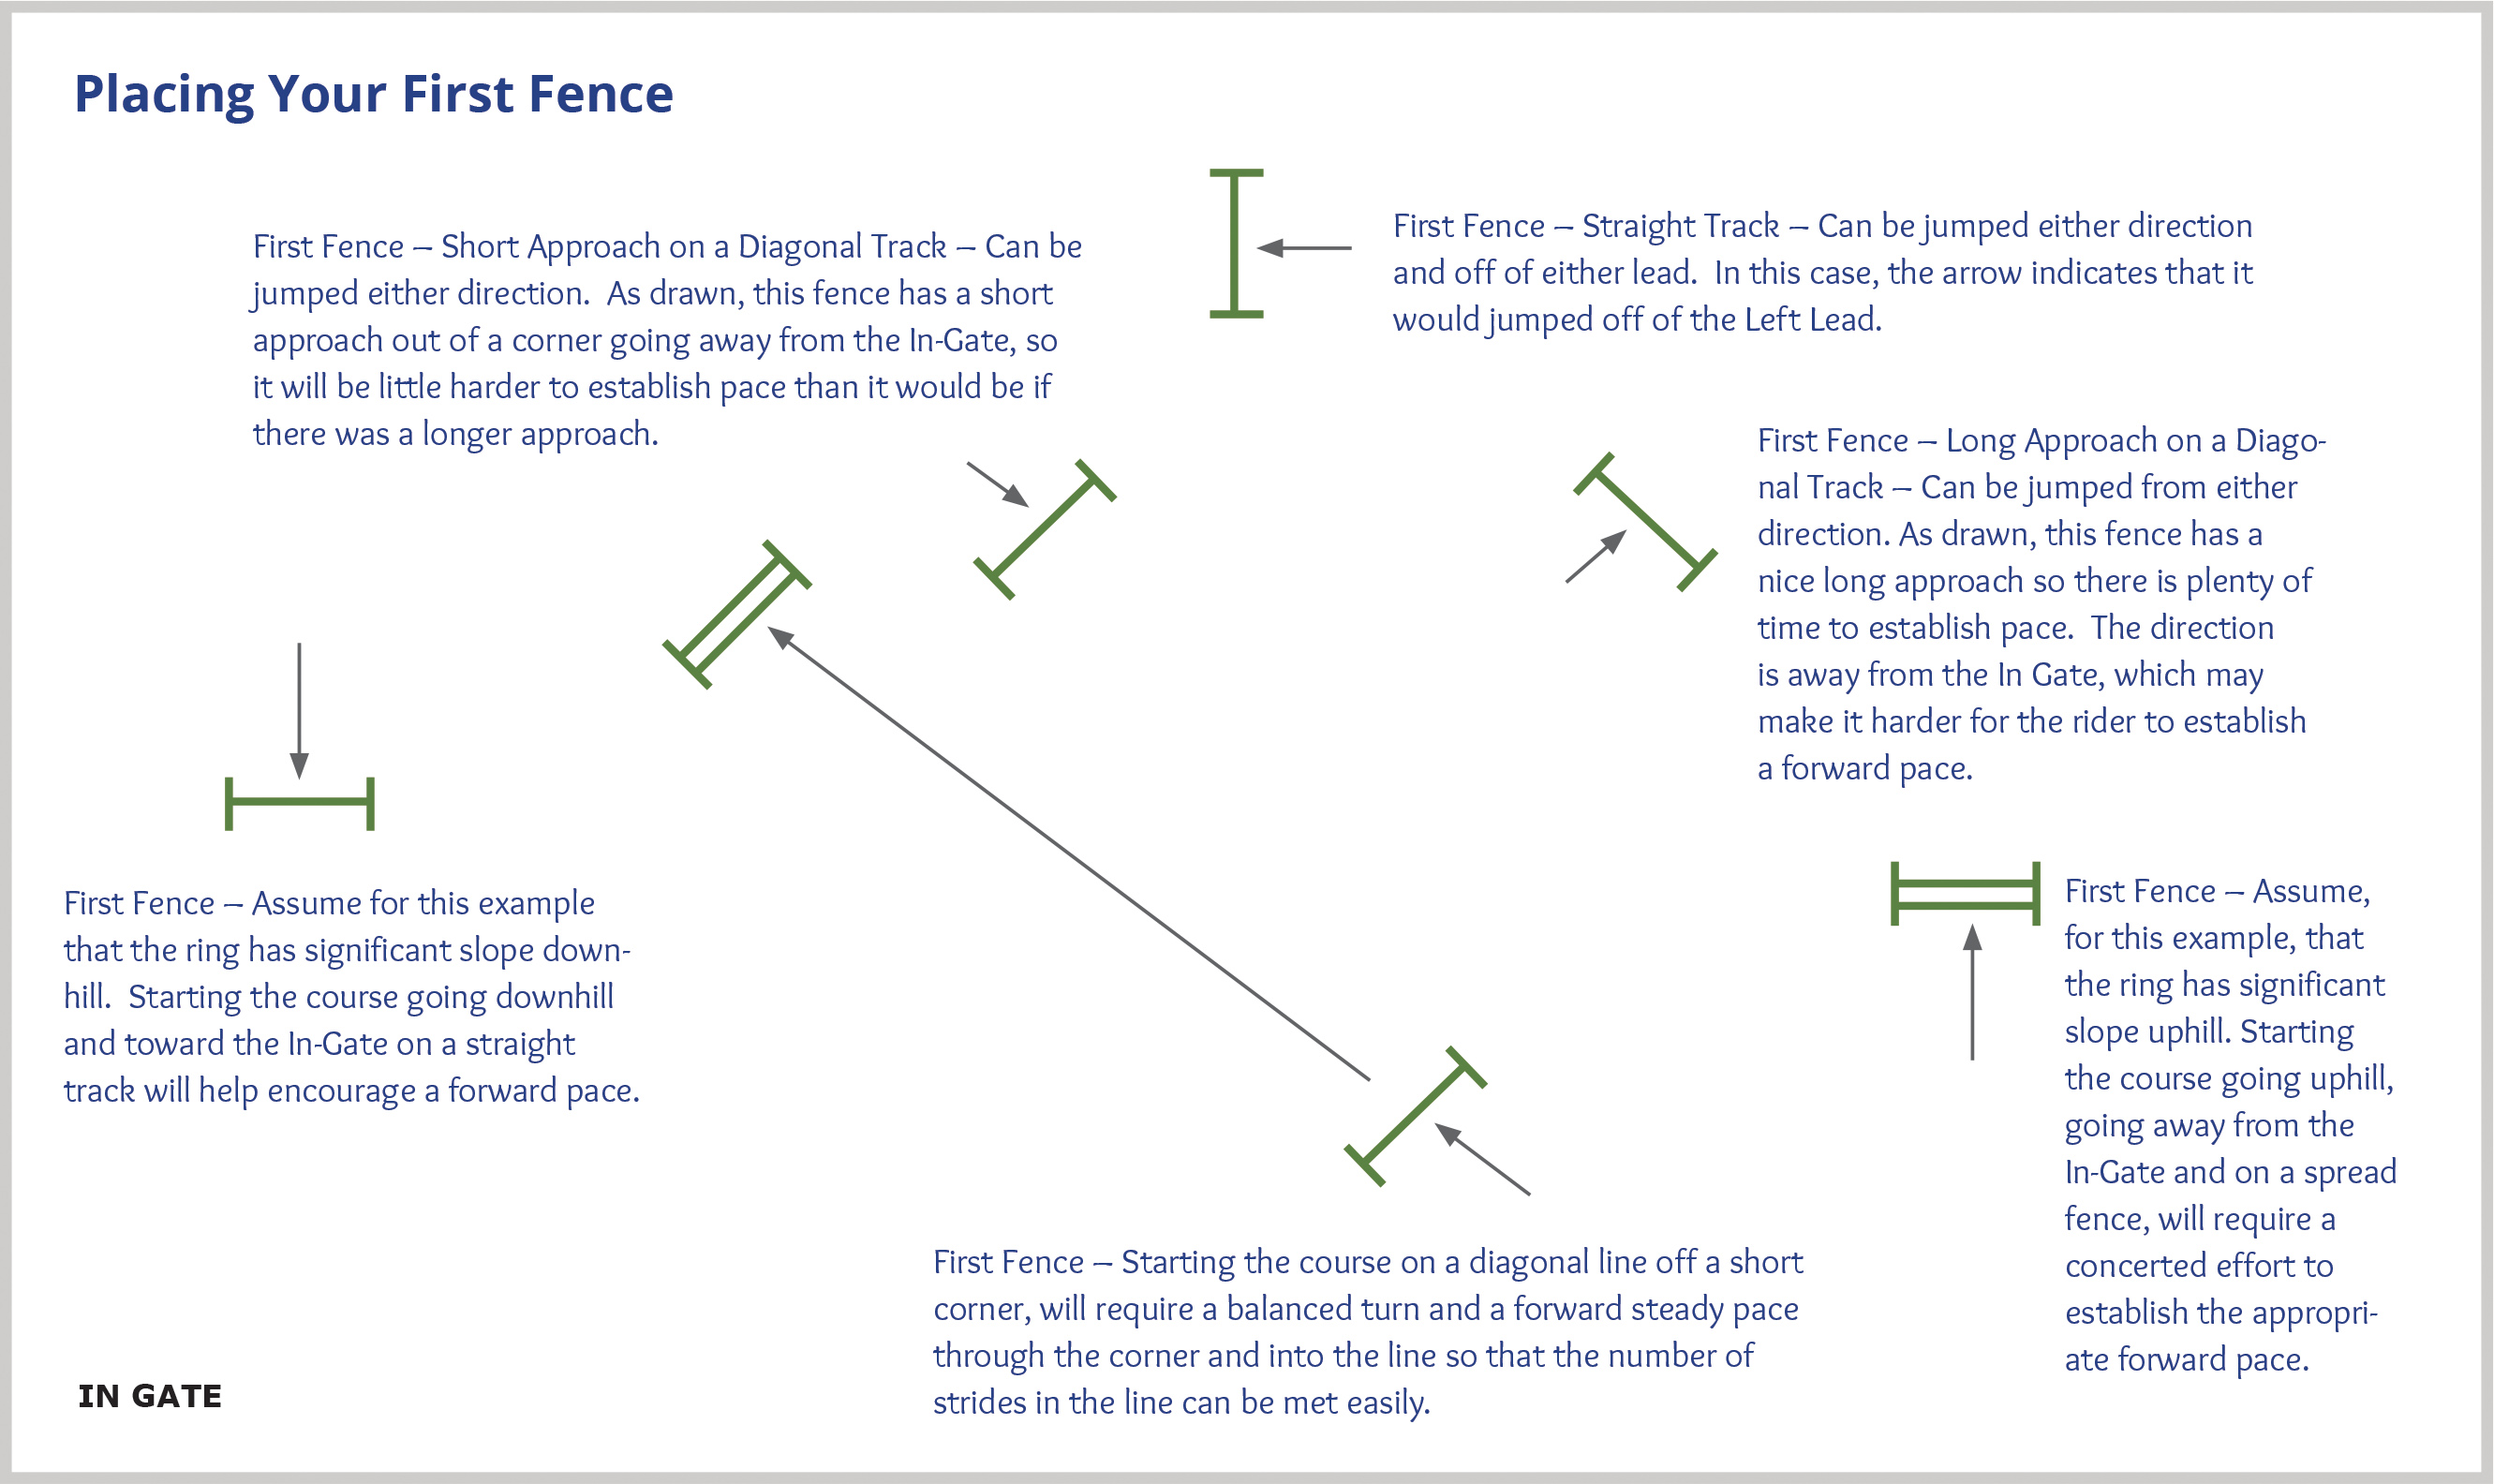
Image courtesy of Trafalgar Square Books.
2: YOUR FIRST FENCE ON COURSE SHOULD BE PLACED TO MEET COURSE GOALS
How the rider approaches the first fence is important for establishing the pace that should be maintained for the remainder of the course. In training scenarios, you can start on any fence, and in fact, you should practice all the possible placements so you are prepared for whatever may be set by the course designer when you go to a show.
Where you place the first fence should take into account the ring size, topography (inclines/declines), location of in-gate, length of approach, whether it is a vertical or spread, whether it is a single fence or part of a line, and how it is built. Remember the characteristics of a good course and choose to place your first fence so you can meet your course goals.
Course Design Orientation
The orientation of the course you design should match the orientation of your arena as it would typically be viewed from the vantage point of the in-gate (vertically or horizontally).
I always have to double-check my drawings to make sure I haven’t angled the fences improperly, resulting in an awkward turn or creating a drawing that no one can follow. I have found that the easiest way for me to find the correct angle for the first fence (and others) is to look at the track the horse will take across the middle of the fence and from there envision a turn with ample space on the correct lead. The correct lead for the first fence is determined by the course design’s orientation to the in-gate (horizontal or vertical).
When the course design (and your arena orientation according to the in-gate) is horizontal, whichever lower corner the track points to is the correct lead for the first fence (so if the track points to the lower left corner, the first fence should be jumped off the left lead). When the course design is drawn according to a vertical orientation, the correct angle when drawing the first jump on the course is still determined by the track the horse will take across the middle of the fence; but, in this case, whichever upper corner the track points to is the correct lead for the fence.
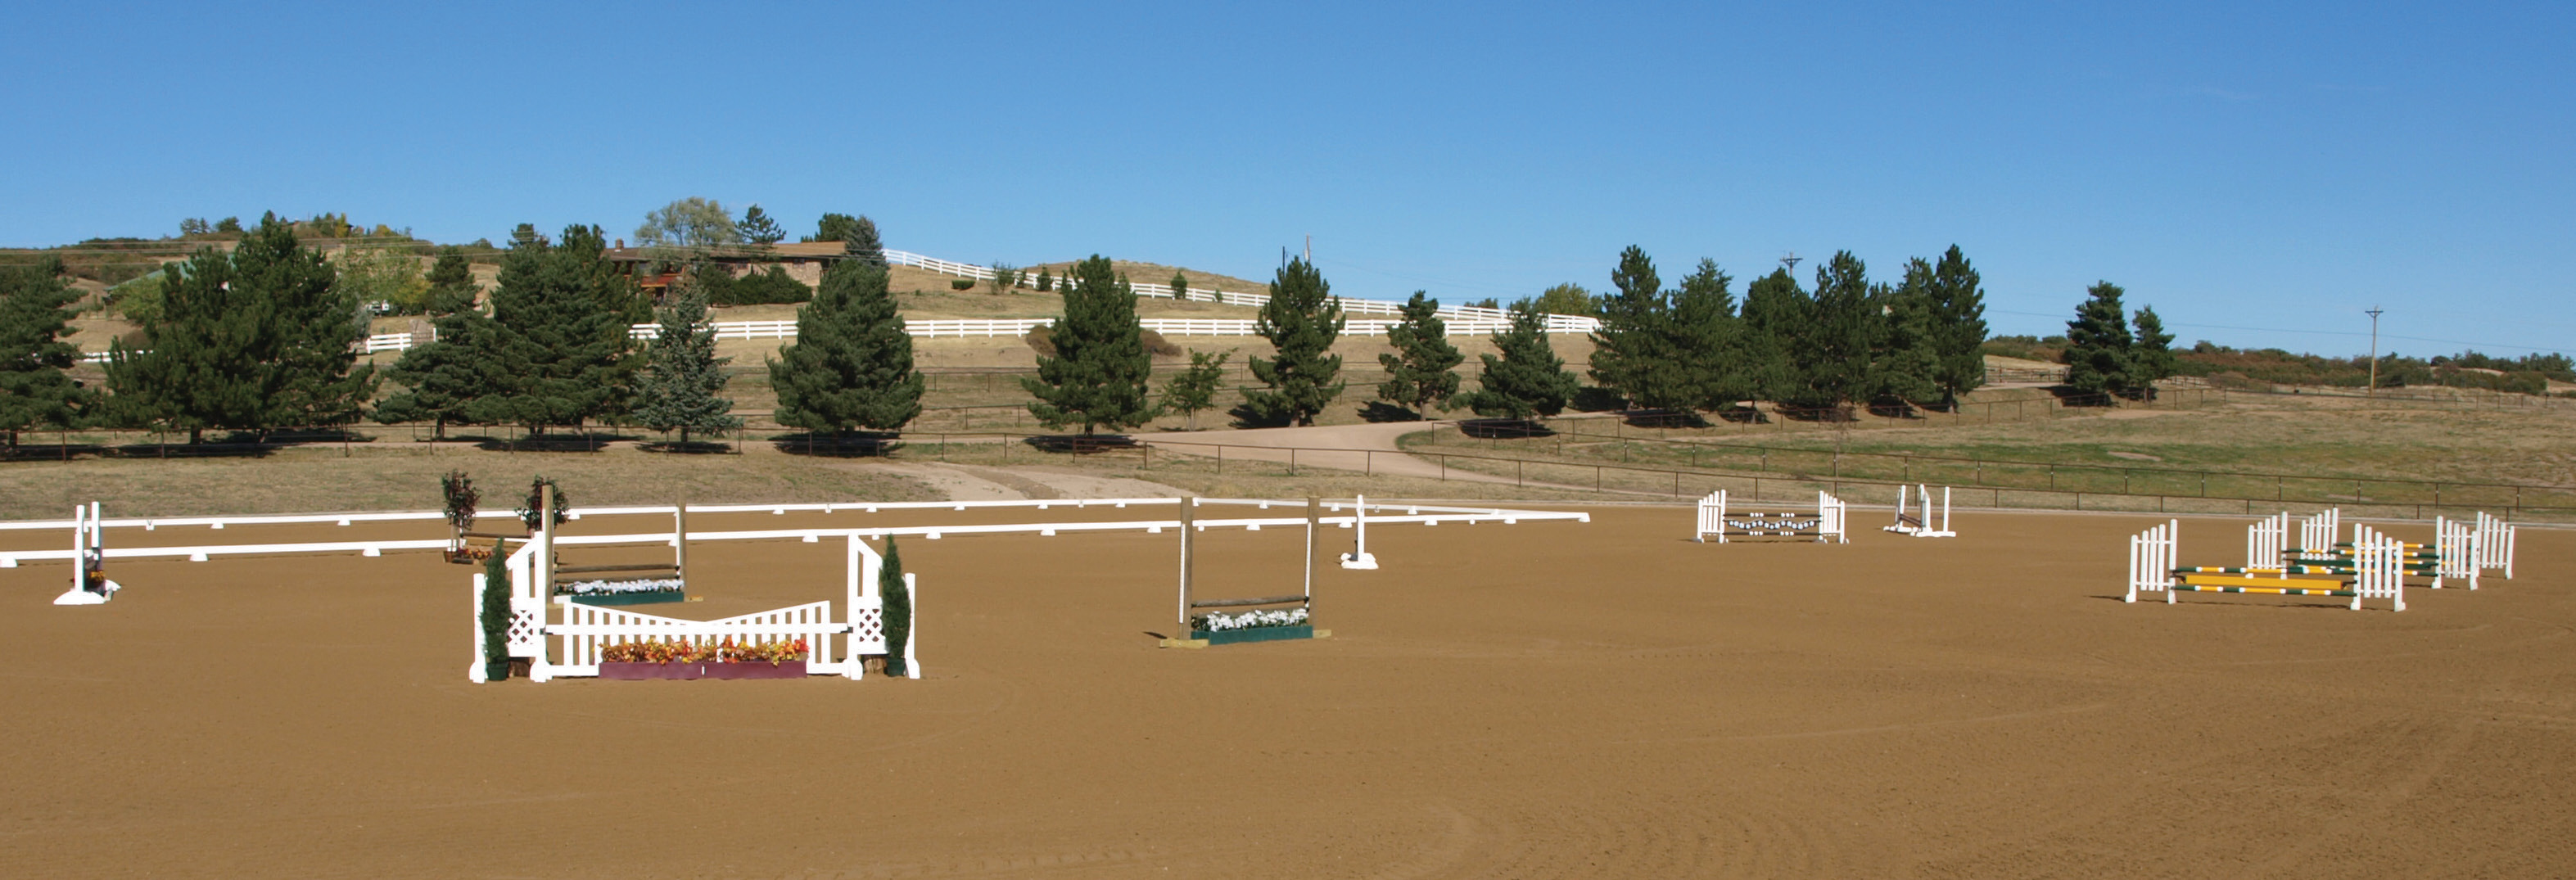
Image courtesy of Trafalgar Square Books.
3: CROSS-MEASURE TO KEEP YOUR STRAIGHT LINES SQUARE
One of the most critical aspects of course design is to keep lines or combinations “square” to allow the horse to travel on a straight track over the center of the related obstacles. A method called cross-measuring can be used to ensure the lines you plan on paper or set on your jump course are square.
First measure the appropriate length of the line for the number of strides that you have planned for your course. You do this by measuring down the middle of the line, as well as from outside standard to outside standard and inside standard to inside standard. Next, check to see that the line is square by measuring diagonally from the inside standard of the first jump, across to the outside standard of the second jump, then from the outside standard of the first jump to the inside standard of the second jump. The two diagonal measurements need to be the same.
When one of the diagonals measures longer than the other, push/rotate the corners of the outside standard of the side with the longer measurement toward the opposite inside standard until both diagonal measurements are the same.
Here’s a tip: You need to rotate/move the standard by one-half the difference in measurement between the two diagonals. So, for example, when the difference in the measurement between the two diagonal lengths is 4 inches, you need to rotate the outside standard in by 2 inches to make the line square.
See more great concepts, ideas and tips from Susan D. Tinder in her book, Jump Course Design Manual from Trafalgar Square Books and take your course building to the next level!